My 6 year old is a very creative kid and when he decided that we needed to make were some BIG dinosaurs – my brain went right to paper mache for this project because it’s inexpensive and these dinosaurs don’t need to weigh 100lbs each.
I was really impressed when I suggested it to him, because he knew exactly what I was talking about and related it to a display he had seen at school. He decided that he’d like us to make a stegosaurus first AND THEN if that worked out, we could try a T-rex.
To begin with, I needed some reference material. We looked at a couple of his dinosaur books so I could get a general shape for this stegosaurus. I drew and cut the torso pieces out. I created the head and tail pieces separately so that I could try to position them a little different from the rest of the body – realism counts when you’re making dinosaurs, y’all.
The boys helped me out by tracing my first pieces onto other cardboard – you need at least two of everything to give it some volume because we’re going for 3D! They also helped by making some plates, spikes, and feet for the stegosaurus to be used later.
To continue building the shape, I connected the top of the stegosaurus more narrowly than at the bottom. I attached the main pieces by adding strips of cardboard of the correct width along the sides and held the whole thing together with masking tape, slightly angling the head and tail. Before I closed Mr. Stegosaurus completely up, I stuffed him with recycled newspaper to give him some mass for better stability.
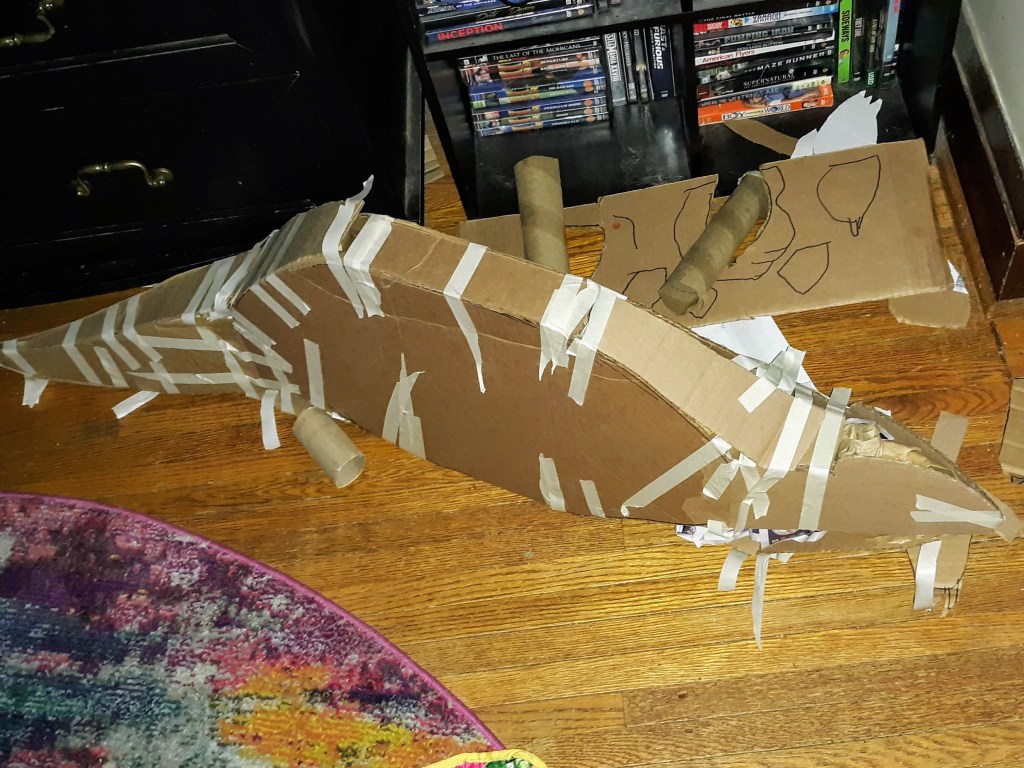
Here’s Mr. Dinosaur in our living room – hanging out waiting to be permanently sealed up – you can see the tape starting to have some problems.
I’m not sure what was going on with the masking tape – maybe it was too cheap for the job? We put the stegosaurus aside for a few days but the situation became critical when it didn’t seem to be staying together anymore.
It was definitely time for some good old fashioned glue and paper. I typically use an approximate 50/50 mixture of water and PVA glue. We tore up scrap paper and pasted it on the frame of Mr. Stegosaurus – sealing up all the seams and making any last minute adjustments.
Next we started bulking up the body. I used paper towel rolls to begin forming the legs and then larger pieces of paper scrunched and otherwise manipulated to add more body.
At this point – we were using the same crappy masking tape and I got frustrated – so it’s been sitting for about a week now. I did go buy some better masking tape. We’ll see how it goes…to be continued.
Comment below if you’re excited to know how this project turns out!
I love fairies and all things magical! Anything that sparks a little bit of wonder and joy speaks to me. I started fairy gardening about 5 years ago.
I first started when we lived in Texas and much of that garden was more architectural in nature with lots of stones and shells. It is fun to imagine pieces of shells as staircases or pots as a fairy homes – the architectural element is definitely something I am trying to recreate and expand on this year. After we moved to New York, I set up a fairy display inside my home. Using the elements and ideas that I had previously created, I decided to expand my fairy gardens to the outdoors last year.
I love that many of my accessories have been gifts from friends and family. That makes my garden extra special.
The watering bulbs were my great aunt’s – she passed away several years ago and my cousin gave these to me. I smile when I look at them because I think she would have really liked my fairy garden. I grouped them in an organic way to complement the blue Lithodora.
Upcycling is a huge goal for me, and I try to incorporate this special form of crafting when I add things to my fairy gardens. For example, this year I added a glass jar (which I am trying to keep a plant alive in) to depict a water source or greenhouse. I planted the alyssum to resemble a waterfall.
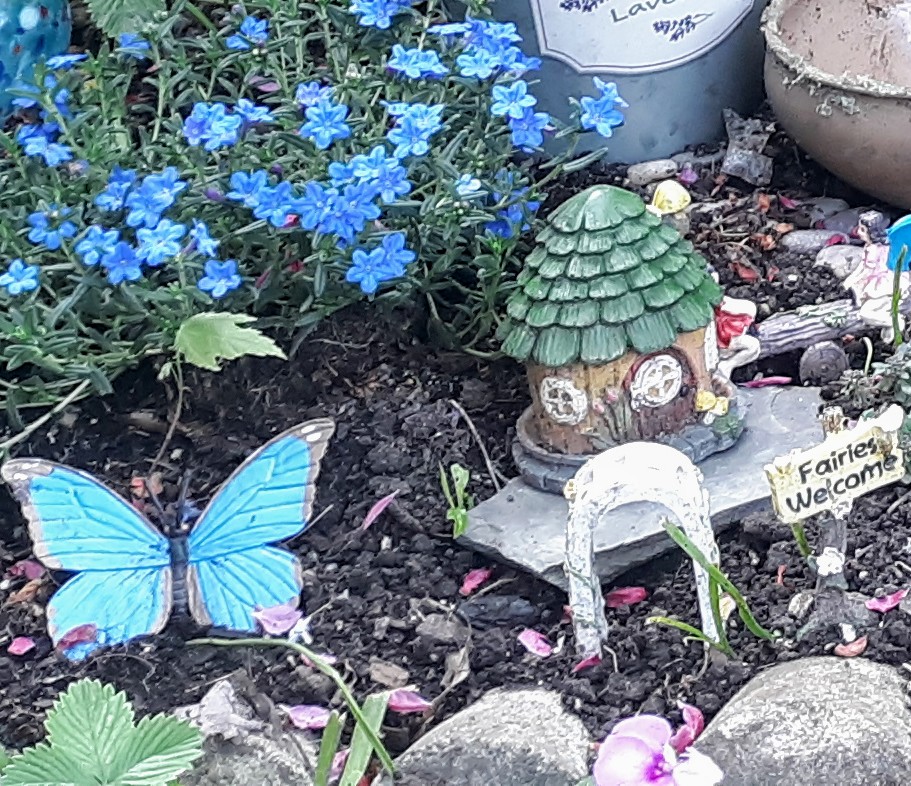
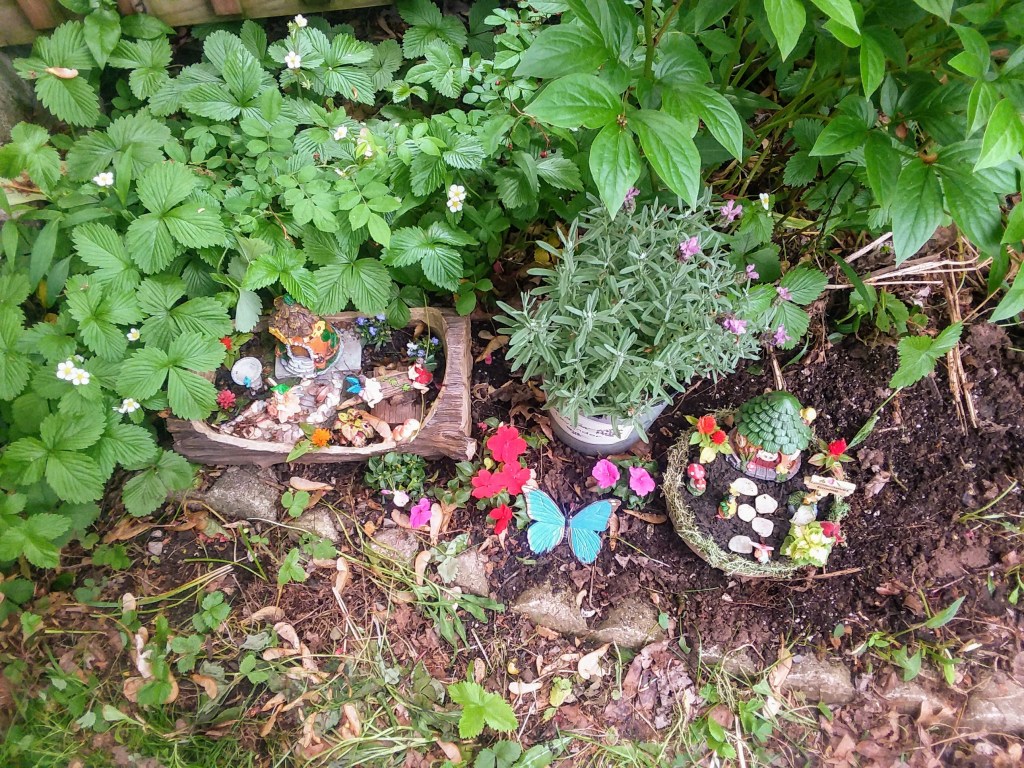
I’m also trying to use art/design concepts to add perspective to the fairy scene that I am creating. My largest fairy is near the front while my smallest is at the back. Another example is my blue plant (Lithodora) towards the front, smaller and lower to the ground while my taller plants are in the background. That lovely peony comes with the house but I thinned it out this year to have more room to add to my garden. I like using elements of what is already around. I have little wild strawberry plants that grow to the side of my little garden. They provide the illusion that you have stepped from one world to another.
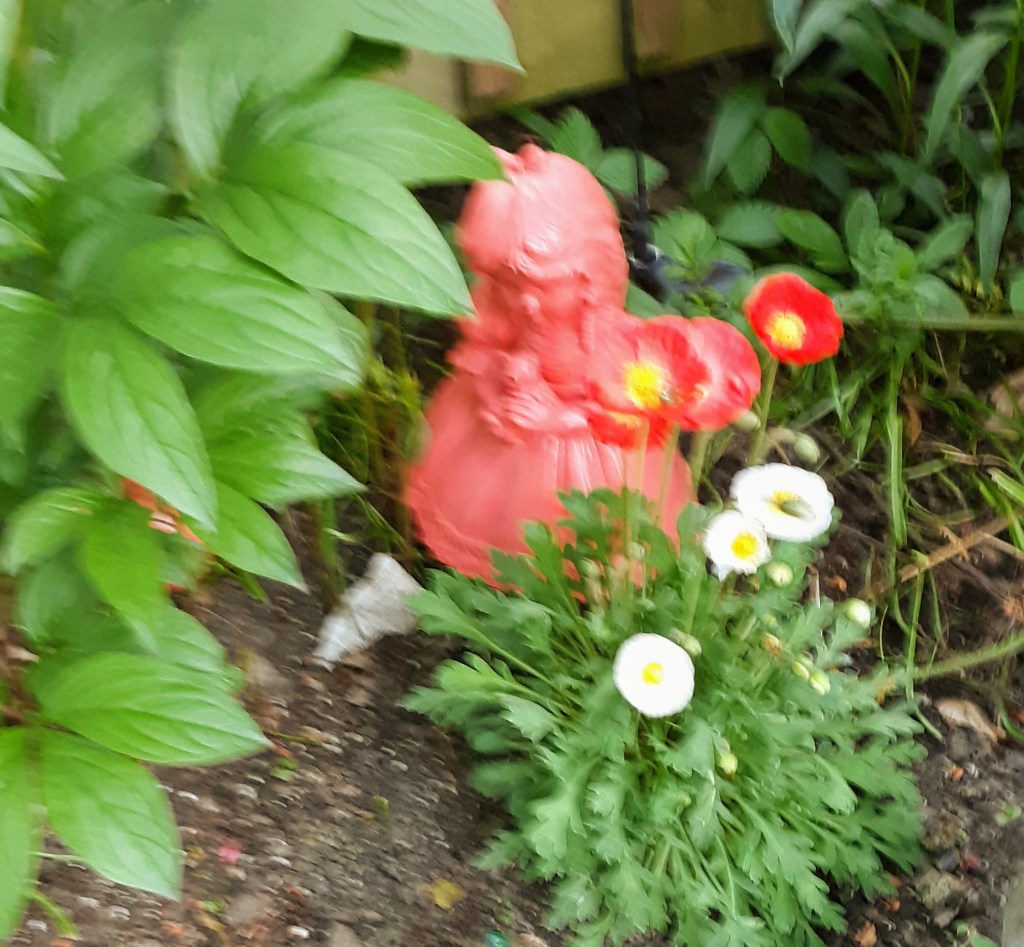
I am also adding more color this year. I am trying to choose bright, bold colors that pop and seem magical! Two new colors I am experimenting with are bright blue and coral/orange. They add a whimsical and playful feel to my fairy garden. These bright bold plants that follow are perennials, so hopefully I will be able to enjoy them for years to come.
The blue flowering plant in this picture is Lithodora – it’s related to evergreen and is often used as a ground cover – it spreads, so I’ll be interested to see what it does this year.Icelandic Poppy – I plan on adding to my Icelandic Poppy collection. It’s a very hardy plant and blooms so wonderfully!
A goal that I have for my garden is making more of my own accessories. I’d like to make some things out of acorn caps and seashells because I have an abundance of both. I envision some type of water feature, either real OR created with shells and acrylic. I have all sorts of ideas saved to my Fairy pinterest board! Feel free to check it out!
That’s my personal experience and ode to my love of magic and whimsy – but let me sum up the important parts for you!
How You Can Build a Fairy Garden of Your Own
What plants would you like to use? Big plants, smaller plants, perennials or annuals? Many ground cover type plants produce smaller flowers while large plants provide perspective and some cover for your magical residents. Does your yard get a lot of sun, or little sun? Most plants are marked to help you with this. Annuals are a good choice if you want to change your garden more frequently.
Will you use a current garden bed or do you need to start a new one in a location that would be more conducive to a fairy type garden? Your garden can also be in a container. You can use any number of items for this – a large pot, an old wheelbarrow, a wooden crate, or something else you find! Make sure any containers you use have proper drainage and any accessories/containers are weather proof.
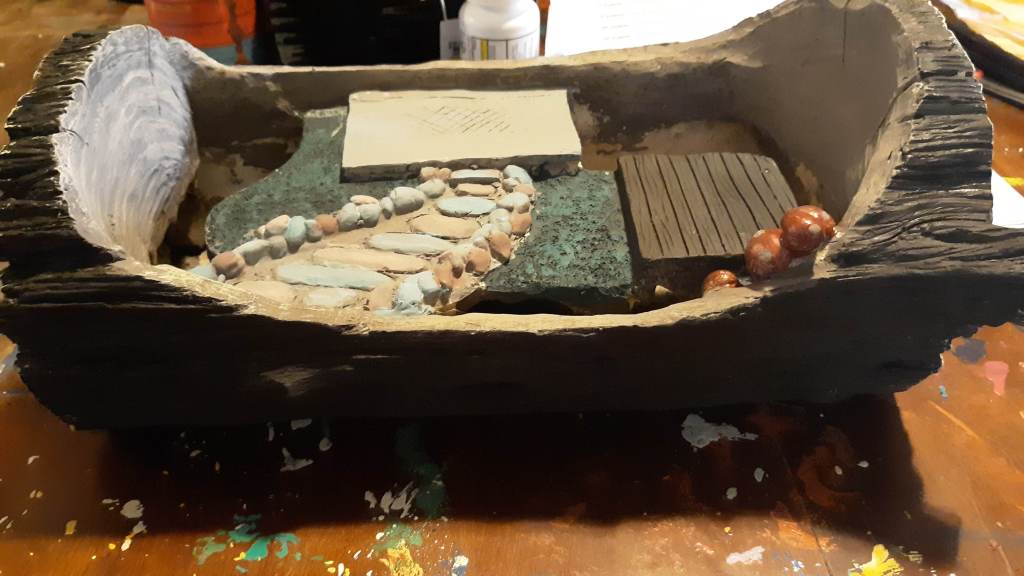
This container was not weather proof and had faded badly. This year, I repainted it, sealed it and added proper drainage by making holes with my rotary tool. I will probably only put a couple of small annuals in it.
What do you already have that you can use? This can be from the house OR the yard. If you are like me – then you collect recyclables and other art supplies (some people think that is a hobby all on its own). That jar will make a perfect fairy home! Upcycling for the win!
What colors do you want to use? I lean towards bold and bright but maybe your fairies like pastels or they like their home greener and less flowery.
What type of scene is it? Mine seems to be a little village but yours could be a single fairy house with all of the fixtures (bed,chair,table, plates, etc.) Some people like to put fairies and other figures in the garden – and some people like to leave them out so a fairy can move right in.
What are you going to purchase and where? I am working on a village look with paths, houses, stores and items from my imagination. You can find great items at Big Lots, Dollar Tree, and Michaels. Check Dollar Tree first! They have many of the same kind of items as Big Lots for a better price. I also strongly believe in serendipitous shopping – especially when it’s on clearance.
Remember your garden is a dynamic project. It can be ever changing. Keep this in mind when you are building it.
Are you adding things that mean something to you or make you smile like personal or heirloom items? These kinds of things add so much character and meaning to your fairy garden.
Are you enjoying yourself? Most importantly – it needs to be a fun project, something to look at and smile. You can tell from the following pictures that I put a lot more thought and time into my garden this year and that’s because I loved the little garden I had the year before.
Below are some pictures – one of my garden last year and some of how it is progressing this year.
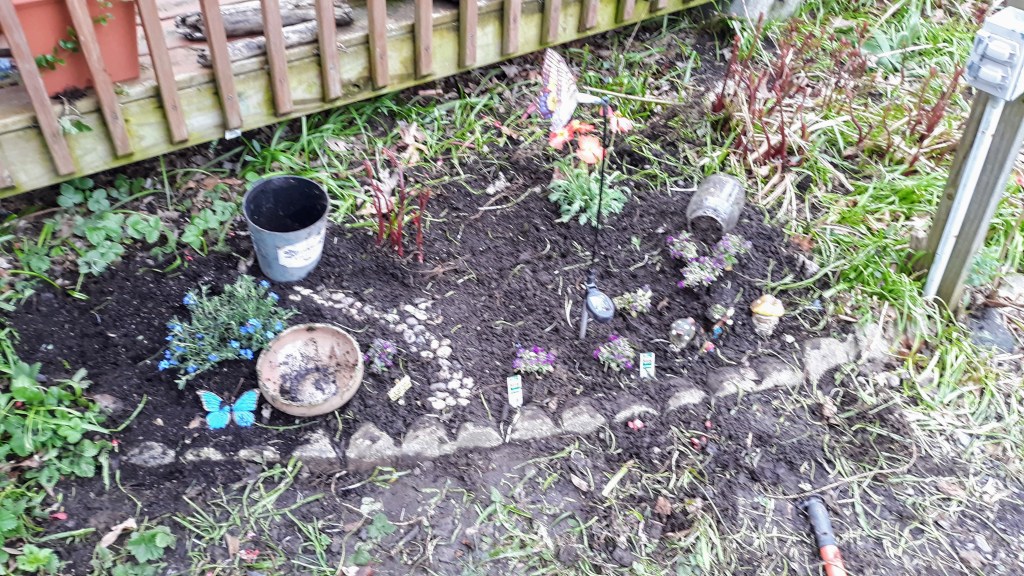
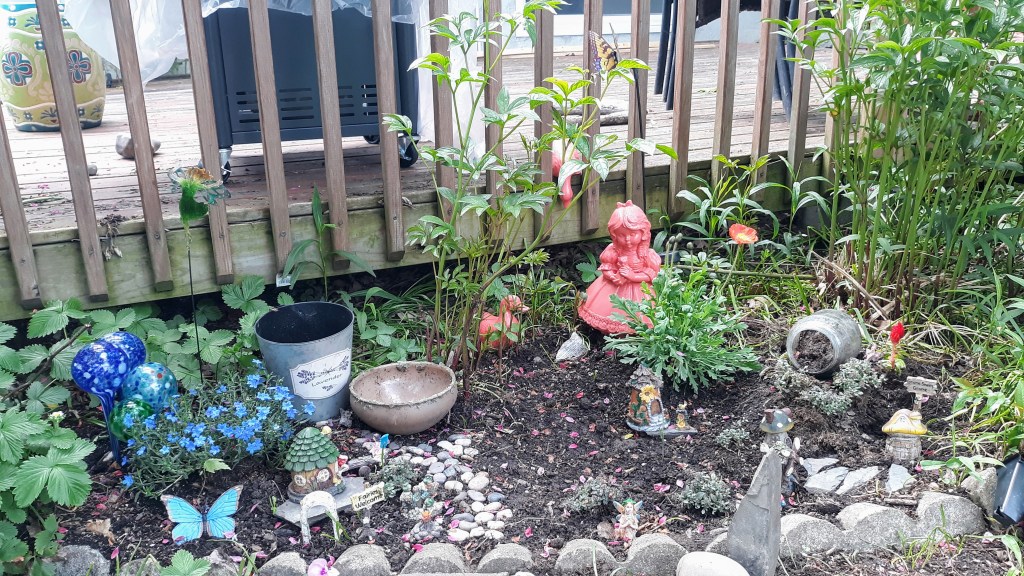
My garden last year – it was fun having it outside but I don’t feel when comparing that I really stretched myself creatively – but the most important thing is that it made me smile! You can also better see the plants that already grow in the same area in this picture (strawberries and peony) and how they enveloped it a little more.First phase of my garden construction this year – (around May 1st) I cleared out the area and placed some of my main features such as my path and larger areas of plants. Unfortunately we had a freeze after this and it affected some of my plants!Second phase – you can see that my plants are growing in a little more. You can also see some more features I added. I bought the girl and the ducks separately last year at thrift stores. One thing I like to do is team up different elements or pieces by tying them together with a single bright color. I used some slate I found in my car trunk – (my little boy is a collector OF EVERYTHING….he learned from the best) to make walkways, paths and sculptures. In this picture, I haven’t replaced the log or replanted the other containers yet.
I’ll be updating this post with my completed fairy garden soon!
Thank you for reading and if you have any great fairy gardening ideas or photos to share – be sure to email them to me at marj.sanpietro@gmail.com or comment below!