Making Large Paper Mache Dinosaurs – pt. 2

My husband says it looks like a dinosaur right now…a zombie dinosaur 🤣.

Alright, Scotch brand masking tape for general purpose for the win!

I continued using larger pieces of paper scrunched and otherwise manipulated to add more body.

I focused on the sides and head when I added shape. I also wrapped the legs with more paper to bulk them up.

It would be pretty funny to have a dinosaur with teeny tiny legs.

If you are as crazy as me and want to attempt this –

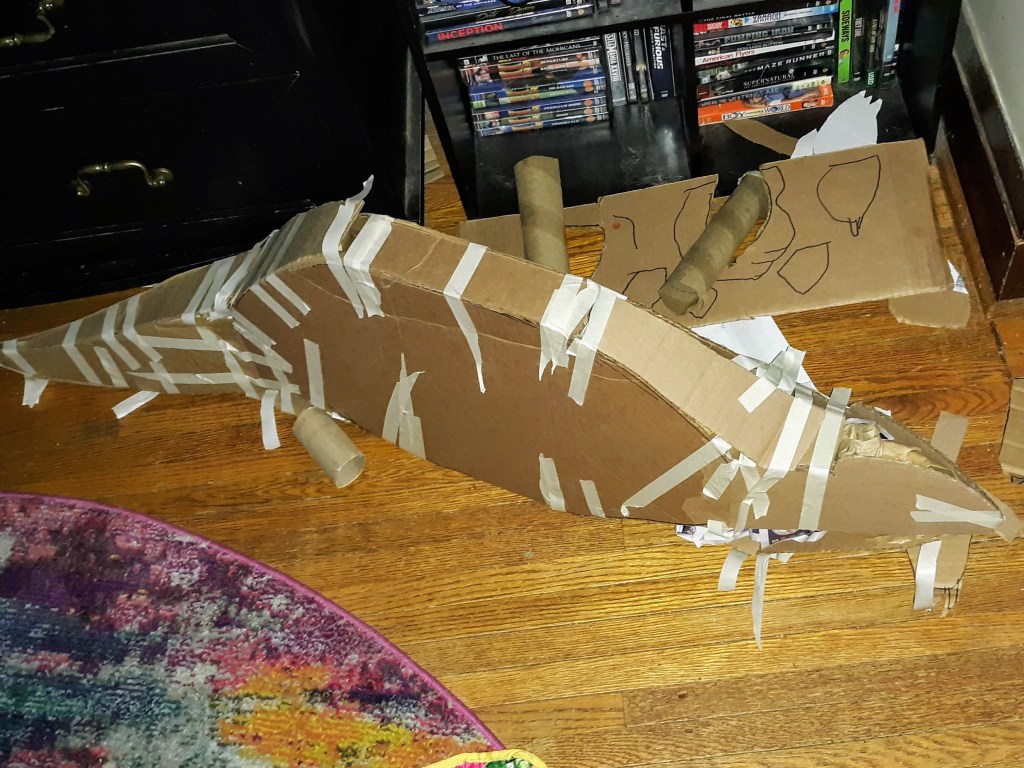
1. Use large pieces of masking tape to attach all of your paper and do not go bargain masking tape shopping for this large of a project

2. Do not worry about perfection – think of it as impressionism or giving the general idea of something at this point. You are going to add more layers and can add detail later.

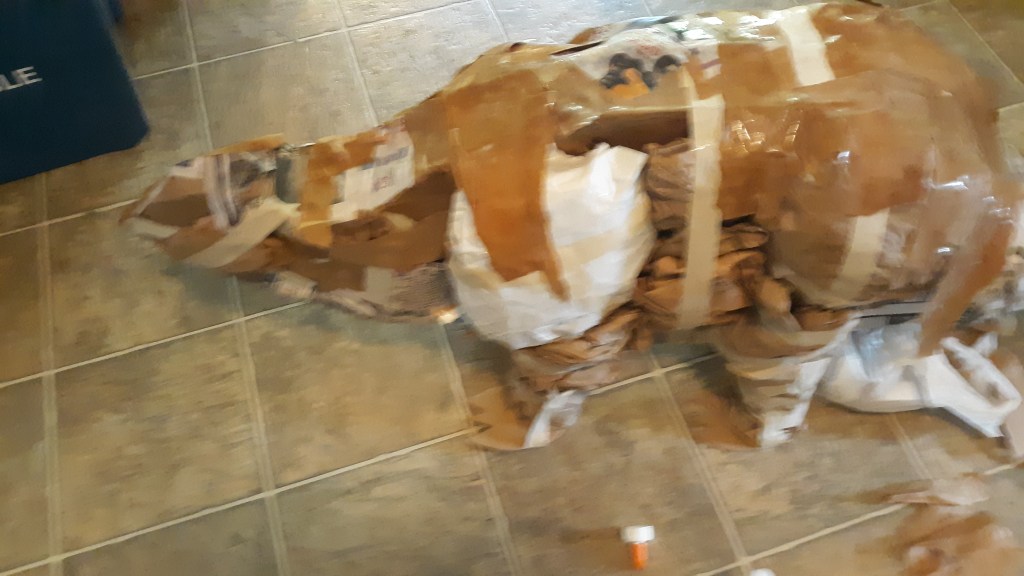
He is about a third of the way covered at this point with another coat of  paper and glue.

It helps smooth out all of his “insides”. We added his feet with tape which the mastermind behind this madness drew and cut out.

The stegosaurus is almost the same size as my large dog…

The madness will continue…

The next step will be continuing to seal in his insides so he’ll be less zombie-like and we’ll be adding spikes and plates.

I’ve already asked the mastermind what color we’ll be painting him and he is considering grey.

Does anyone know if stegosauruses were grey?

Also, a triceratops has been added to the dino wish list. 🤦‍♀️

A serious question – what does one do with large paper mache dinosaurs when they are completed?

Comment below if you have any ideas!

Making Large Paper Mache Dinosaurs – pt.1

My 6 year old is a very creative kid and when he decided that we needed to make were some BIG dinosaurs – my brain went right to paper mache for this project because it’s inexpensive and these dinosaurs don’t need to weigh 100lbs each.

I was really impressed when I suggested it to him, because he knew exactly what I was talking about and related it to a display he had seen at school. He decided that he’d like us to make a stegosaurus first AND THEN if that worked out, we could try a T-rex. 

To begin with, I needed some reference material. We looked at a couple of his dinosaur books so I could get a general shape for this stegosaurus. I drew and cut the torso pieces out. I created the head and tail pieces separately so that I could try to position them a little different from the rest of the body – realism counts when you’re making dinosaurs, y’all.

The boys helped me out by tracing my first pieces onto other cardboard – you need at least two of everything to give it some volume because we’re going for 3D! They also helped by making some plates, spikes, and feet for the stegosaurus to be used later. 

To continue building the shape, I connected the top of the stegosaurus more narrowly than at the bottom. I attached the main pieces by adding strips of cardboard of the correct width along the sides and held the whole thing together with masking tape, slightly angling the head and tail. Before I closed Mr. Stegosaurus completely up, I stuffed him with recycled newspaper to give him some mass for better stability.

Here’s Mr. Dinosaur in our living room – hanging out waiting to be permanently sealed up – you can see the tape starting to have some problems.

I’m not sure what was going on with the masking tape – maybe it was too cheap for the job? We put the stegosaurus aside for a few days but the situation became critical when it didn’t seem to be staying together anymore. 

It was definitely time for some good old fashioned glue and paper. I typically use an approximate 50/50 mixture of water and PVA glue. We tore up scrap paper and pasted it on the frame of Mr. Stegosaurus – sealing up all the seams and making any last minute adjustments.

Next we started bulking up the body. I used paper towel rolls to begin forming the legs and then larger pieces of paper scrunched and otherwise manipulated to add more body.

At this point – we were using the same crappy masking tape and I got frustrated – so it’s been sitting for about a week now. I did go buy some better masking tape. We’ll see how it goes…to be continued.

Comment below if you’re excited to know how this project turns out!