How I’m Organizing Our Homeschool

It’s not pretty. In all honesty, I have about 3 days mapped out so far. I want to see how we do and what is working for us.

My homeschool space doubles as our dining room. We have two bookshelves dedicated to homeschool materials. I recently put up a small whiteboard and bulletin board set. I’m using these to keep info that we need every day. I’ll probably write the date on the whiteboard to help us all keep track.

Each of the kids have their own binder where I am keeping supplemental material and where I hope they can store their work. I also have a binder – it’s pretty rudimentary right now. I have a copy of each IHIP and a calendar for keeping attendance. I also have a place for my daily plans. I have been scratching them out on looseleaf paper organized by subject for each child.

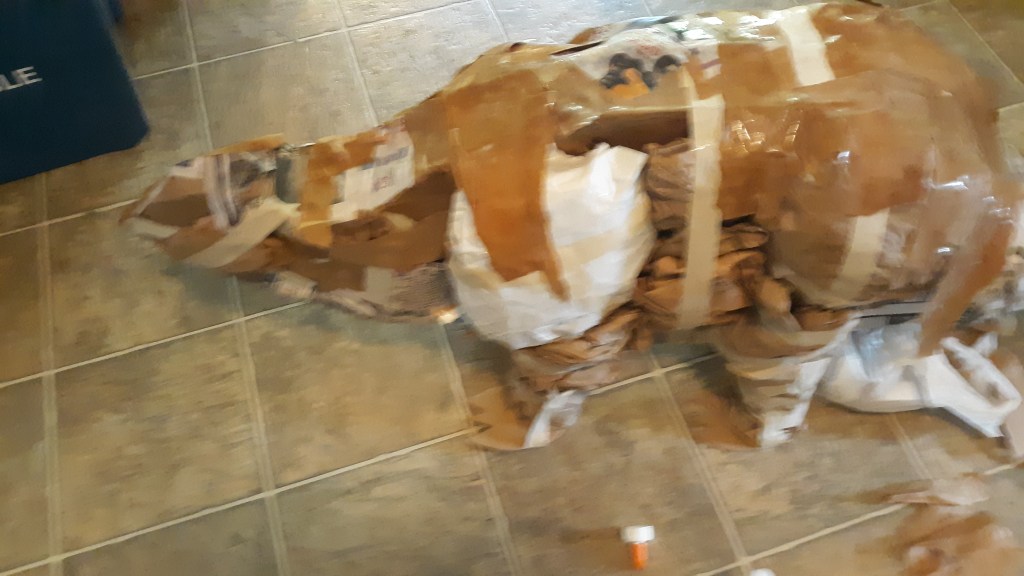
I plan on using the internet extensively for material to fuel hands on learning. I’m really excited about science experiments, demonstrations, and projects. I have a ton of recycables and basic art supplies on hand.

I reviewed their IHIPs and started looking at the resources I’ve accumulated. I have started what feels like a small library – not that we didn’t already have one – but I purchased some workbooks and went through the books we already owned looking for non-fiction I could use for different subjects. I found out that we have a crap-ton of dinosaur books.

I felt that we needed an easy start so I used their Brain Quest workbooks to jump start our first few days. I like these because they help me to see what I need to cover in each grade level. I’m using these as a guide and a starting point for topics. We are going to be covering each topic in more depth and according to my child’s individual needs. For instance, my second grader is a developing reader. We are going to use the first BQ worksheet on digraphs as a starting point and continue practicing them throughout the week. I am going to accomplish this with worksheets I found on Pinterest. We’re also doing that with math. We are going to be working towards better understanding of the hundredths place value so we’ll study that for about a week.

I am going to cover some topics with both my 6th grader and 2nd grader. We’ll be doing a coordinated study of U.S. History dating from immigration across the Bering land bridge to… however far we get. We will also be doing Art, P.E. and music together. Music isn’t even a required subject but I think it would be terrible to miss so I’m on the hunt for some materials. In lieu of having a solid plan for Music, we’re going to start with classical composers.

I am excited and nervous about that first day. I’m not planning on jumping into lessons right away. I am going to use the first day to get them excited. We’re going to name our homeschool, talk about how we learn best, make lots of slime and maybe go on a walk. I want to find out what they want to learn about and do so I can incorporate that.

When is it Art and When is it just Mess: An Exploration.

During these last few weeks, I have been working on quite a few projects. I had a yard sale and THOUGHT I needed something else to keep me busy. So I started working on a desk and chair set I found on the side of the road.

I started out painting the wood parts white with plans to use blue metal enamel that I had purchased for another project. The white paint didn’t really speak to my soul – so I started decoupaging the chair with ripped pieces of dictionary pages (one of my favorite materials). I broke out the enamel to do the metal and just sort of said huh…I wonder what that would look like on the paper.

My husband called on his way home from picking up auction purchases – another new hobby of ours…and I told him I was either making art or a mess. That’s how I still feel about it. So what’s the difference? And how far is too far? Comment below to let me know.

Sometimes you make a mess when you’re creating a piece. That doesn’t mean the completed work you make is a mess. I’ve been making little signs out of pieces of wood. The wood almost looks like the back of stamps, but they stand up well. I was trying to stencil a tiny pineapple on a couple of tiny pieces. I went through 8 pieces to get ONE perfect pineapple – I still need to get another one but I’m a little worried about going through 8 more!

My point in telling both of those stories is to remind myself and maybe you that creativity is a process and not everything we make is going to be perfect and may take a couple of tries. We should keep trying if we have that creative spark. I know that I have to feed mine.

25 + Bored Jar Activities

Everyone is panicking over what the kids are going to do this summer and while Pinterest is FULL of ideas like this – I thought I’d add my contribution.

Our Bored Jar – crazy stickers and some blue cardestock!

I wrote ideas that incorporate several areas of learning and will appeal to my target audience (school age kids). Most of my ideas can be done independently but some might require adult guidance. I’m planning to join the boys for many of the activities because I included things that will also appeal to me….shhhhh….it’s not cheating!

One thing that I recommend is that you have the materials handy for any activities you include. Many of the ideas I wrote can be done with practically anything you have around the house. The general idea is to write out or type a bunch of ideas – so that when the children say they are bored – you can send them to the jar.

The jar can be decorated and it doesn’t even have to be a jar!  Use a shoe box, a Ziploc bag, or a Tupperware container – it’s all up to you. I used a jar and some funny stickers I had around the house. Cut out the ideas and put them in the jar. If you’d like to reuse your ideas – you can attach them to card stock or craft sticks for added durability.

The mess I make when I cut things out…

Feel free to use some or all of my ideas from the list below for your “Bored Jar” – and if you’d like to share some of your ideas, email me. I created the original list in Google Docs and it is available to print here.

  • Draw your favorite animal in different color than you usually see it.
  • Design a tree house for you and your friends. 
  • Draw a self portrait using only squares.
  • Write a new story featuring your favorite character from a book or TV show.
  • Design your dream house in 3D – use legos, cardboard, recyclables or anything else you can think of!
  • Make a gift for someone.
  • Make a birdhouse or a yard decoration.   
  • Make an item for a fairy garden. 
  • Create a magic wand.
  • Hide a treasure and draw a map.
  • Design a spacecraft. 
  • Draw a  blueprint for a new machine.
  • If you made a robot, what would it do? Write, draw or build a model of your robot. 
  • Make a list of things that you are grateful for.
  • Write a thank you letter to someone who has helped you.
  • Ask an important question you have been thinking about.
  • Who do you admire? Write a letter telling them why.
  • Think about a play made from your favorite book. What would some props be?
  • Read a poem and then draw a picture about it.
  • Look at a famous piece of art. What does it make you feel?
  • Draw a picture of two animals combined together.
  • What do you want to do when you are older? Find out 5 facts about it.
  • If you were the president, what are three things you would do and why?
  • Make your own desert  island with clay, blocks, or recyclables.
  • Make a list of your 10 favorite toys, games, movies, or books.
  • Read about someone who is doing a job you’d like to do when you are older.
  • What are three things that help you when you are feeling sad?
  • Draw a picture of your family using only circles. 
  • Paint or draw or make a collage using your favorite color only.
  • Pick a historical event and share 5 new things you learned about it at dinner.

Do you think this will help keep the kids occupied this summer? Comment below with your ideas!

Making Large Paper Mache Dinosaurs – pt. 2

My husband says it looks like a dinosaur right now…a zombie dinosaur 🤣.

Alright, Scotch brand masking tape for general purpose for the win!

I continued using larger pieces of paper scrunched and otherwise manipulated to add more body.

I focused on the sides and head when I added shape. I also wrapped the legs with more paper to bulk them up.

It would be pretty funny to have a dinosaur with teeny tiny legs.

If you are as crazy as me and want to attempt this –

1. Use large pieces of masking tape to attach all of your paper and do not go bargain masking tape shopping for this large of a project

2. Do not worry about perfection – think of it as impressionism or giving the general idea of something at this point. You are going to add more layers and can add detail later.

He is about a third of the way covered at this point with another coat of  paper and glue.

It helps smooth out all of his “insides”. We added his feet with tape which the mastermind behind this madness drew and cut out.

The stegosaurus is almost the same size as my large dog…

The madness will continue…

The next step will be continuing to seal in his insides so he’ll be less zombie-like and we’ll be adding spikes and plates.

I’ve already asked the mastermind what color we’ll be painting him and he is considering grey.

Does anyone know if stegosauruses were grey?

Also, a triceratops has been added to the dino wish list. 🤦‍♀️

A serious question – what does one do with large paper mache dinosaurs when they are completed?

Comment below if you have any ideas!